How to Set up your own blog using GitHub and Hexo
What you should know before reading
- Basic(and only basic) knowledge of
GitandGitHub - You should have an account of
GitHub - Basic(and only basic) knowledge of
html - This tutorial is for
MacUsers only. (I DON’T KNOW whether it can work inWindows/Linux.)
Creating a Repo in GitHub
- Create a Repo named
<Your Account>.github.io - Test it with a
index.htmlwith any text in it likeHello World - Commit and push it to the remote branch.
- After a few seconds, you can visit the website
- Enjoy it!
Tips
If you are a Pro user of GitHub, you can set up your website using a Private repository, which means that others can only visit your website but not contents in this repository. But if not, you have to make it public.
Installing hexo
Before that, let us check …
If you haven’t installed Node.js
1 | brew install node |
Check if it succeeds
1 | node -v |
Here we go!
1 | npm install -g hexo-cli |
Waiting a few minutes (or longer, depending on your network condition)
Check if hexo is successfuly installed
1 | hexo -v |
Initializing the Project
Creating Project
1 | hexo init <blog-name> |
Installing Independecies
1 | cd <blog-name> |
It’s nearly done…
Start a local servel
1 | hexo server |
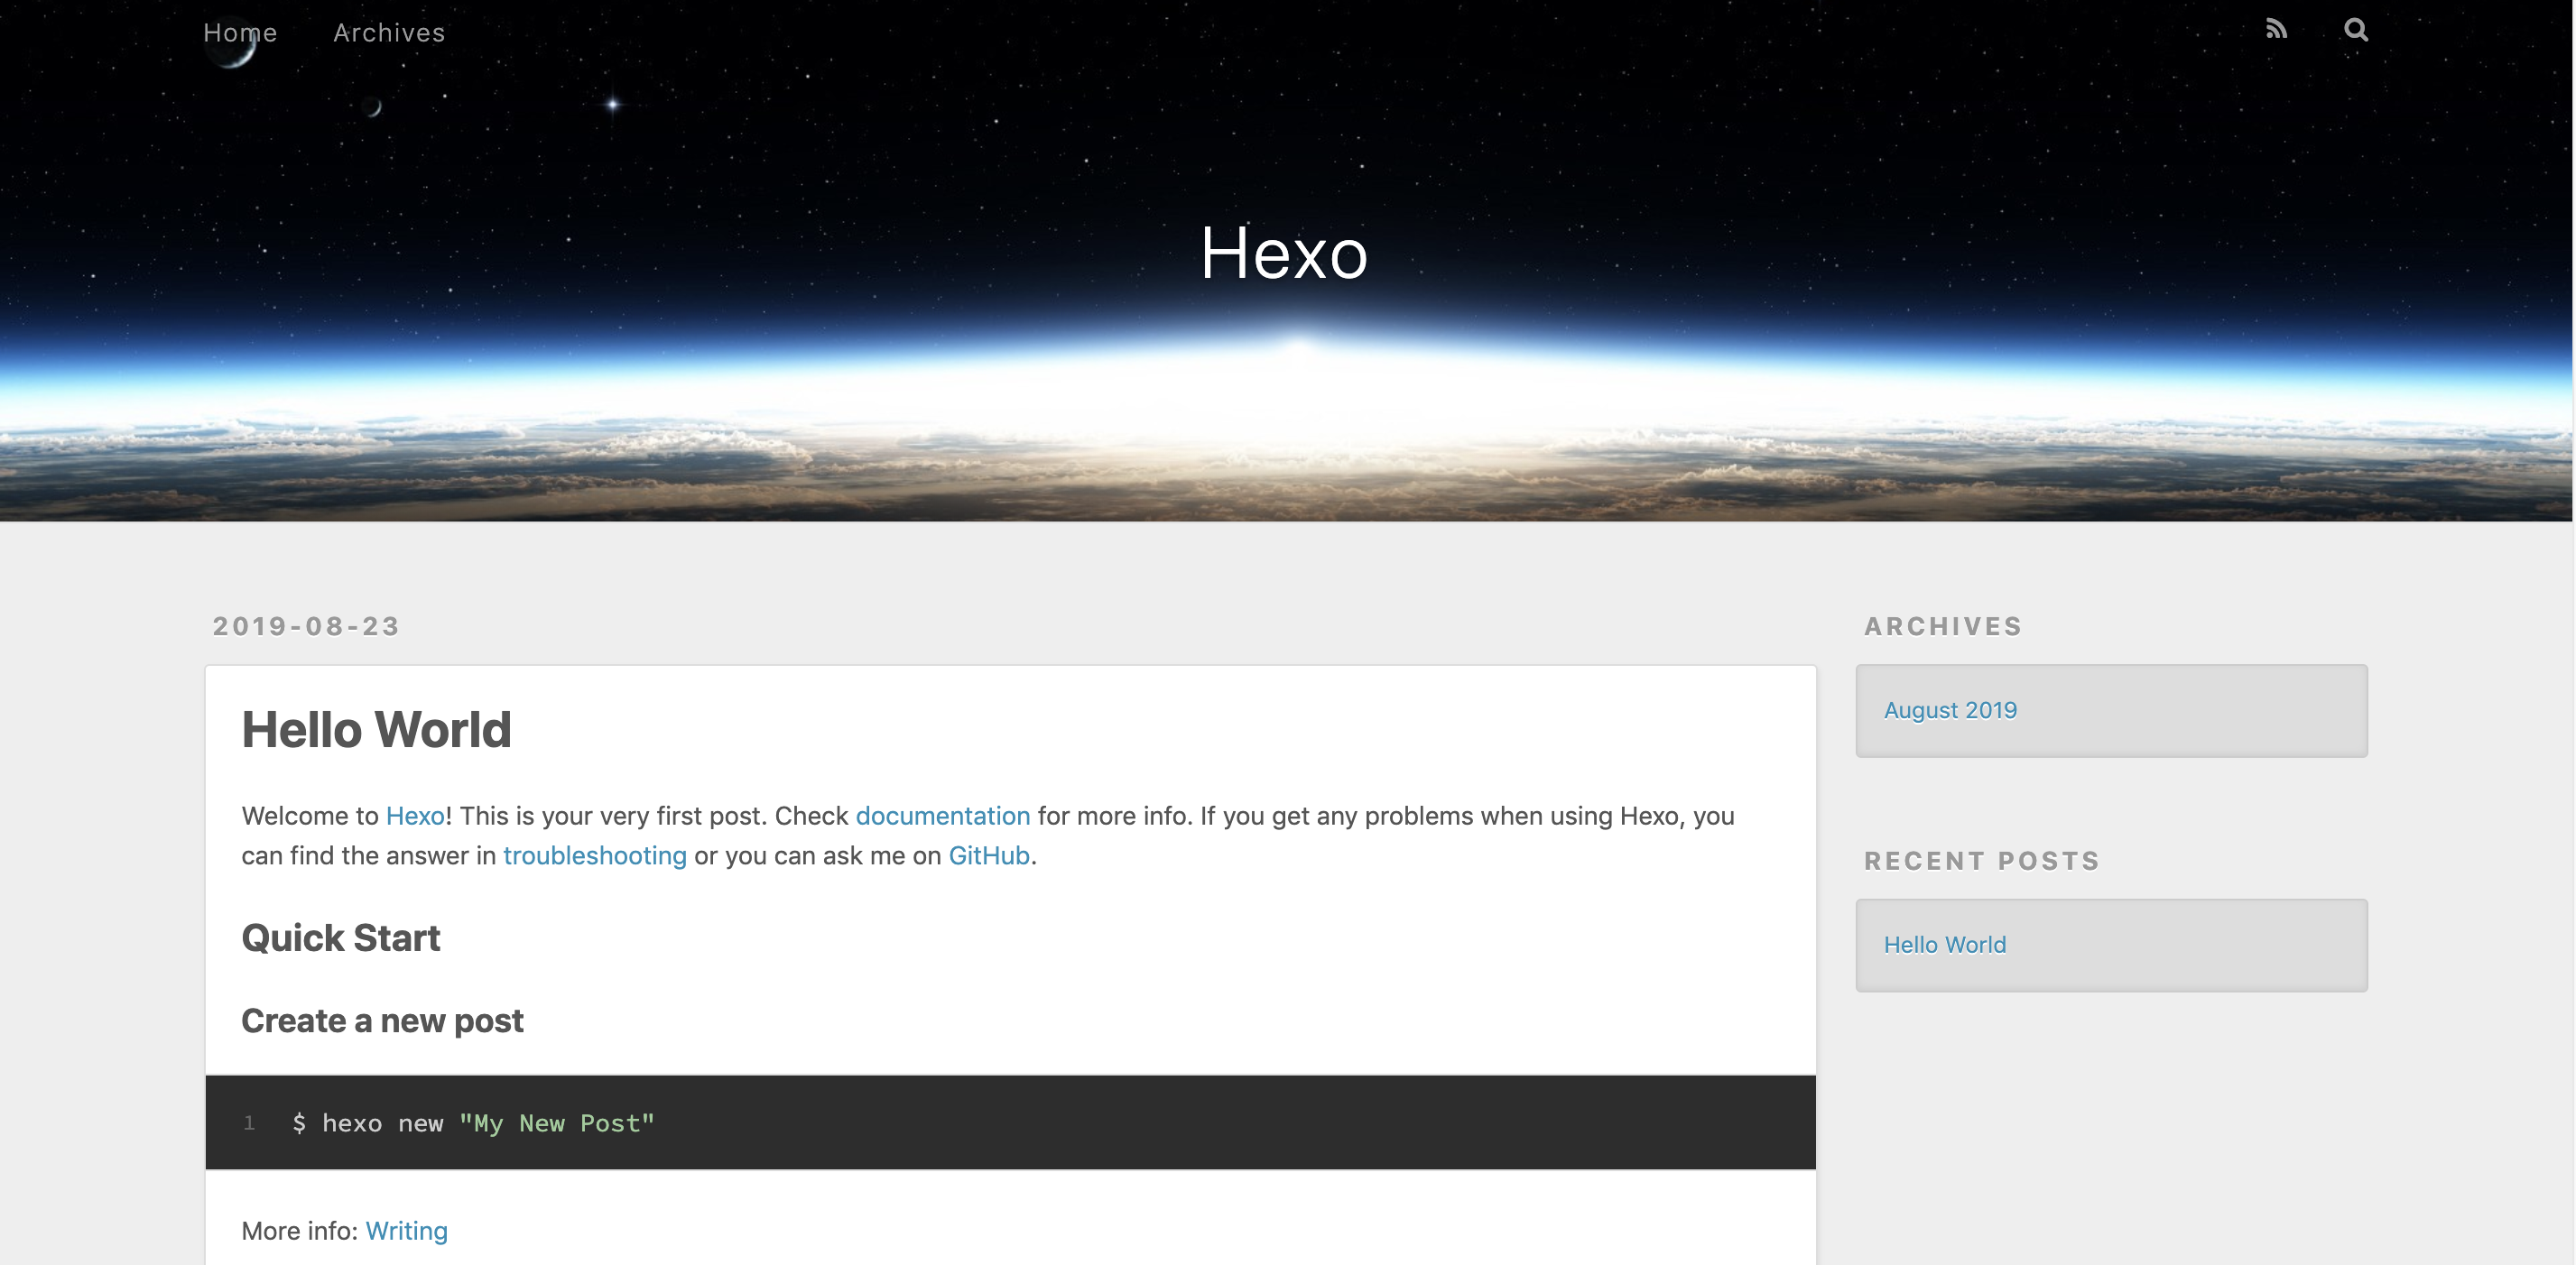
Then view your page at this link and you will see it!
Connecting hexo with GitHub
Install hexo-deployer-git
1 | npm install hexo-deployer-git --save |
Edit Configuration File
Edit _config.yml like this
1 | deploy: |
Deploy
1 | hexo clean && hexo deploy |
Then you can visit the website
Congratulations!